The Importance of High-Quality Photos in Real Estate Sales
Photos in Real Estate Sales: In today’s digital world, where nearly every real estate transaction begins online, first impressions are more important than ever. High-quality photos have the power to either attract potential buyers or push them away before they even step foot inside the property. Whether you’re a real estate agent, a property owner, or a seller looking to make a successful transaction, the importance of professional photography cannot be overstated.
A picture is worth a thousand words, and when it comes to real estate, high-quality images can make all the difference in turning a casual viewer into a serious buyer. In fact, studies show that homes with high-quality photography sell faster and for higher prices. In this blog post, we’ll explore why professional real estate photography is essential to closing the deal and how it can significantly impact the sale of your property.
The Power of First Impressions
In the real estate market, first impressions are everything. Buyers often make snap judgments based on the first image they see online. Whether it’s a listing on a real estate website, a social media post, or a flyer, that first photo is critical. If the images are poor quality, blurry, or unappealing, potential buyers may skip your listing altogether, even if the property is perfect for them.

High-quality images immediately capture the buyer’s attention. These photos evoke curiosity and intrigue, compelling the viewer to learn more about the property. A well-lit, professionally shot photograph can showcase the best features of a home, including its unique architectural details, spaciousness, and overall atmosphere. Buyers are more likely to engage with a listing that presents itself in the best light, both literally and figuratively.
Consider this: studies have shown that listings with higher-quality photos receive more views and generate greater interest than those with amateur photos. One study by Redfin found that homes with high-quality photos sell 32% faster than those with lower-quality images. In a competitive market, this can make a world of difference.
The Psychology of Visuals in Real Estate
The role of visuals in real estate extends beyond just showing the home—it’s about creating an emotional connection. The psychology behind this is simple: humans are visual creatures. We process images much faster than text, and we tend to form emotional responses based on what we see.
When looking at real estate listings, buyers are not just evaluating the property; they’re imagining themselves living in the space. High-quality photos can help them visualize their life within the home. A beautifully shot photograph of a cozy living room with soft lighting or a spacious kitchen with modern appliances creates an emotional response that sparks interest. When done right, professional real estate photos help buyers picture themselves walking through the front door and making it their own.
Furthermore, high-quality photos convey professionalism and seriousness. A well-executed photo shoot can demonstrate that the seller values the property and is willing to invest in its presentation. This professionalism can build trust with potential buyers, giving them confidence that they are dealing with someone who takes the selling process seriously.
High-Quality Photos Help Homes Stand Out
In today’s digital age, buyers have access to thousands of real estate listings at their fingertips. With so many homes on the market, standing out is a challenge. High-quality photography is one of the most effective ways to make your listing catch the eye of potential buyers.
Good photos don’t just highlight a home’s features—they tell a story. They draw the buyer in and offer them a glimpse into what life might be like in that home. Whether it’s a beautiful sunset over the backyard or a close-up of a high-end kitchen appliance, professional photographers know how to create captivating images that appeal to buyers on an emotional level.
Moreover, professionally taken photos can bring out a property’s unique features that might go unnoticed with amateur shots. A photographer with an eye for detail can highlight a home’s best attributes, from its architecture and design to the quality of its finishes. They can also make the most of the space, showing how rooms flow together and how light interacts with the environment.
By showcasing the property in its best light, you increase the chances of attracting potential buyers who might otherwise pass by your listing without a second thought.
A Competitive Advantage in a Crowded Market
Real estate markets can be incredibly competitive, especially in high-demand areas. When there are dozens, if not hundreds, of homes on the market at any given time, your property must stand out. The simplest way to do this is by investing in high-quality photography.
Think of real estate photography as a form of marketing. Just like a brand uses professional images for advertisements, a property listing can benefit from the same level of professional care. Listings with high-quality photos give the impression that the property is well-maintained, well-presented, and worth considering seriously. On the flip side, listings with blurry, poorly lit, or unflattering photos might suggest that the property is not worth the time or effort.
In a competitive market, properties with high-quality photos tend to sell faster and for more money. As mentioned earlier, Redfin’s study found that homes with professional photos sold 32% faster. This advantage could mean the difference between your property sitting on the market for months and selling in just a few weeks. The quicker the sale, the less time the property is exposed to potential market fluctuations, which is especially important in volatile real estate markets.
Furthermore, professional photos help your listing stand out not just online but also in print materials like brochures, flyers, and postcards. Whether it’s a listing on Zillow or a postcard handed out at an open house, the quality of your images will directly affect how your property is perceived.

Case Studies and Examples
To understand the true impact of professional real estate photography, let’s take a look at some real-life examples.
Example 1: The Power of a Great First Impression
Consider the story of a seller in a competitive housing market. The seller’s home had been listed for several weeks with amateur photos that did not showcase the home in its best light. The seller decided to re-list the property with high-quality photos from a professional photographer. Within days of the new listing going live, the home received significantly more views, and offers started rolling in. The property ultimately sold for above asking price, and the entire process took less than a month. In contrast, homes with similar features and price points were sitting on the market for several months, partially due to poor photography.
Example 2: The Impact on Luxury Listings
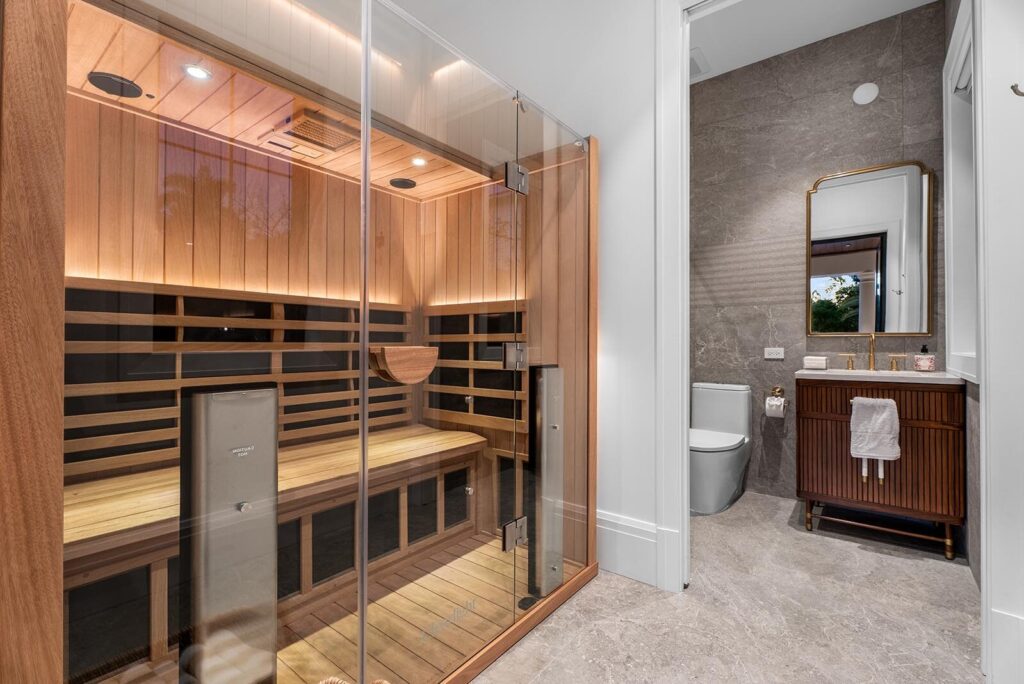
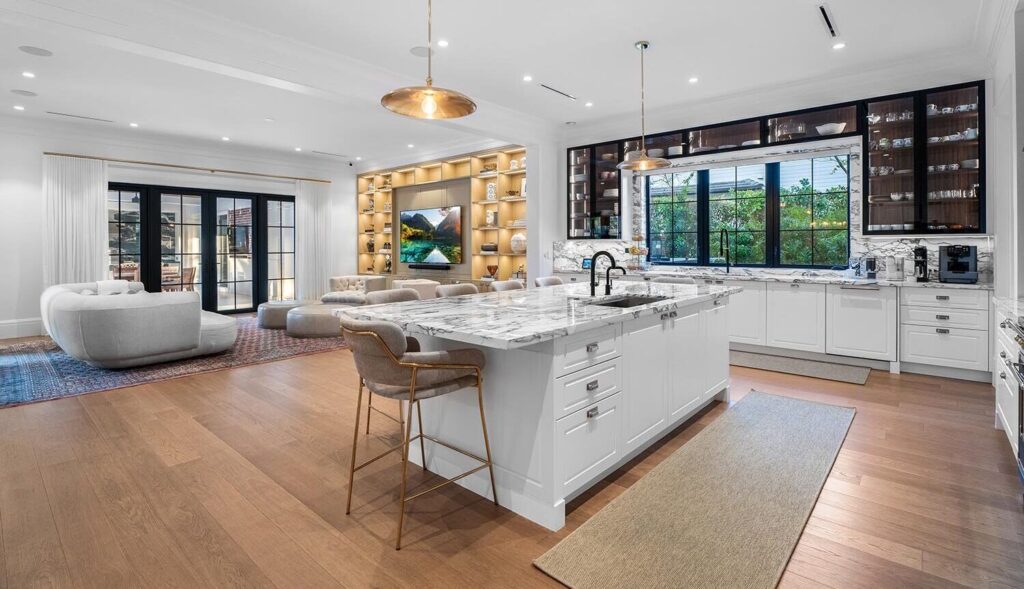
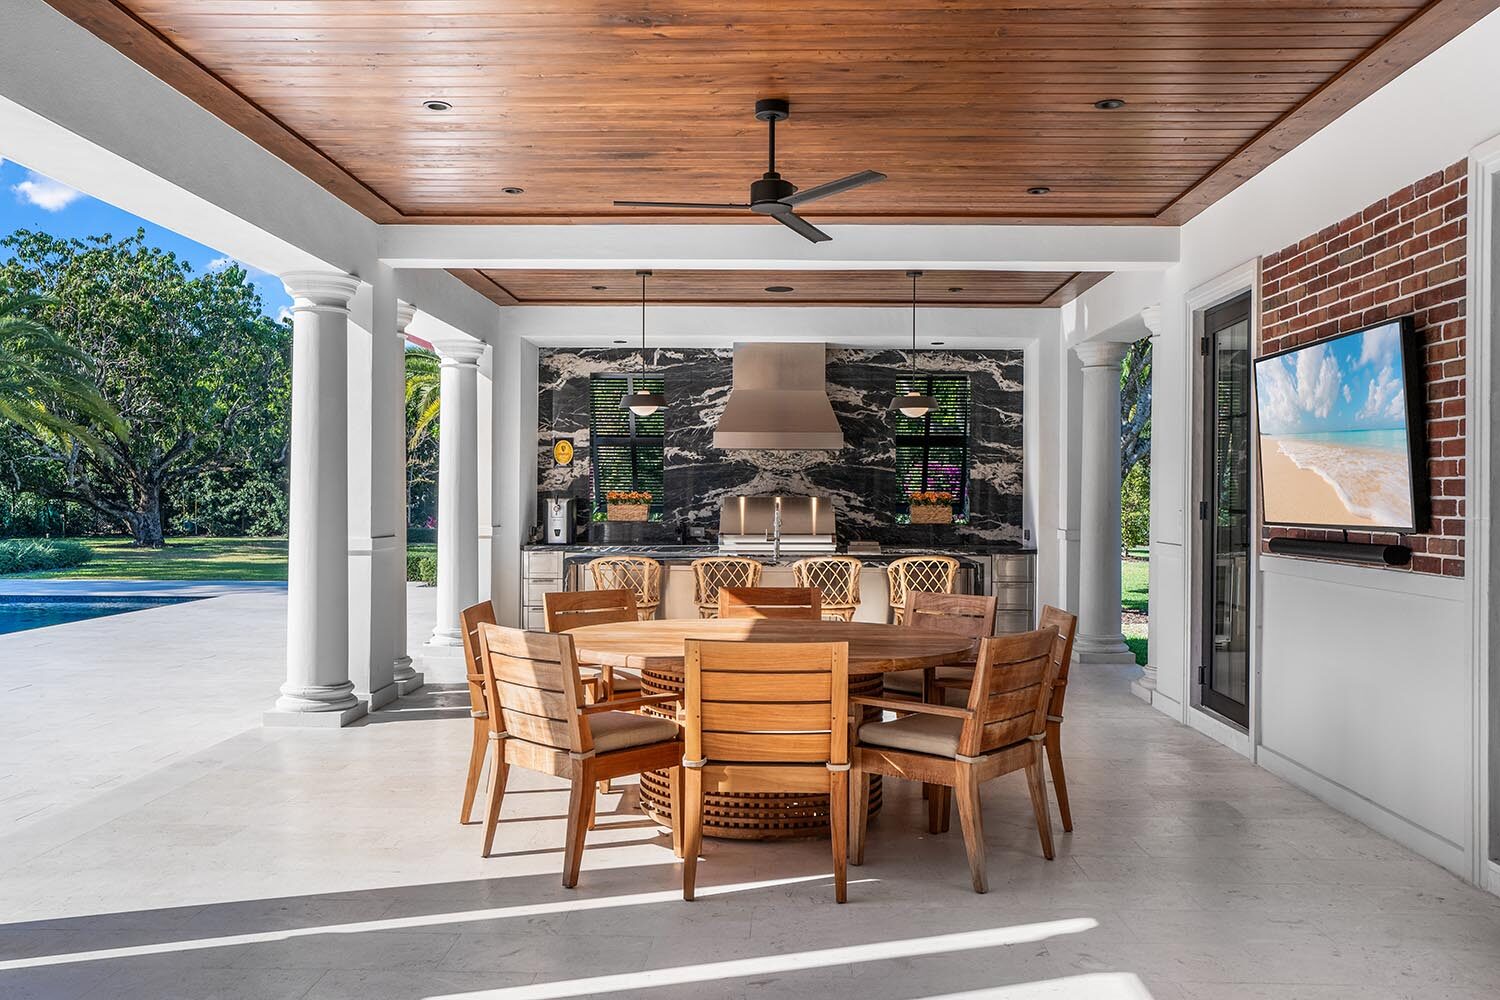
Luxury real estate listings are particularly dependent on high-quality photography. These properties tend to have many unique features that deserve to be highlighted—whether it’s a custom-built kitchen, a stunning view, or a sprawling outdoor space. One luxury real estate agent noted that after investing in professional photography, their properties began to garner more attention from affluent buyers, resulting in faster sales and higher offers. Professional images help luxury homes reflect their value and appeal to the right buyer who can appreciate the finer details of the property.
Example 3: The Role of Professional Photography in Online Listings
A study by the National Association of Realtors found that 87% of buyers use the internet to search for homes. Professional photography plays a significant role in online real estate listings. In one case, a real estate agent in a highly competitive market used professional photos for a new listing. Within the first week, the home had more than double the number of views compared to similar homes listed by other agents. This exposure led to multiple offers and a contract within 10 days of listing.
These examples demonstrate that high-quality photos are not just a luxury—they are a necessity in today’s fast-paced real estate market. Investing in professional photography can result in quicker sales, higher offers, and an overall smoother transaction process.
Conclusion
The importance of high-quality photos in real estate sales cannot be overstated. In today’s digital-first world, where buyers start their search online, the photos that accompany a listing are often the first impression a potential buyer has of a property. High-quality photos not only capture the attention of prospective buyers but also help create an emotional connection that can lead to a sale.
By showcasing the best features of a property, highlighting its potential, and setting the right mood, professional real estate photography can help a home stand out in a crowded market, sell faster, and even fetch a higher price. The time, effort, and cost of hiring a professional photographer are more than worth it when the result is a faster sale at a higher price.
Whether you’re a seller or an agent, investing in high-quality photography is one of the best decisions you can make to ensure that your property gets the attention it deserves. In real estate, a picture truly is worth a thousand words—and in some cases, it could be worth thousands of dollars.
